Set up Tag
Set up Tag with the app, Codex or Claude Code, or your terminal, then try it in Slack.
Install Tag, connect it to Slack, then try a task in a thread. The easiest way is the Tag desktop app. You can also use the terminal, or ask your coding agent.
Before you begin
Use a computer that can stay awake and connected to the internet while Tag handles requests. The Tag app is for macOS; the Windows and Linux app is coming soon. On Windows or Linux, use the terminal or your coding agent. You'll need:
- An AI connection: Codex or Claude Code signed in on that computer, a ChatGPT plan, or an API key. Setup checks it and helps you sign in.
- Permission to create and install a Slack app in your workspace. Your workplace may require an administrator to approve it.
By default, only you can ask your Tag to work. Other people in the channel can read your requests and Tag's replies. See Your own Tag for how Tag uses your agent's files, tools, and connected accounts.
flowchart LR
    Install["Install Tag"] --> Setup["Set up a Tag"]
    Setup --> Start["Tag starts"]
    Start --> Try["Try it<br/>in Slack"]
Set up with the app
The Tag app runs on macOS. It installs everything Tag needs and walks you through your first Tag.
Install the app
- Download Tag for your Mac from the Tag guide or GitHub releases, and open it.
- Choose Install Tag. Installation takes a few minutes and needs about 650 MB. It needs no administrator password.
- Choose Set up your first Tag.
Name your Tag
Give your Tag the name people will @mention in Slack, a one-line description, and a picture. Choose Shuffle picture for a new one, or Upload your own. Nothing is created in Slack yet.
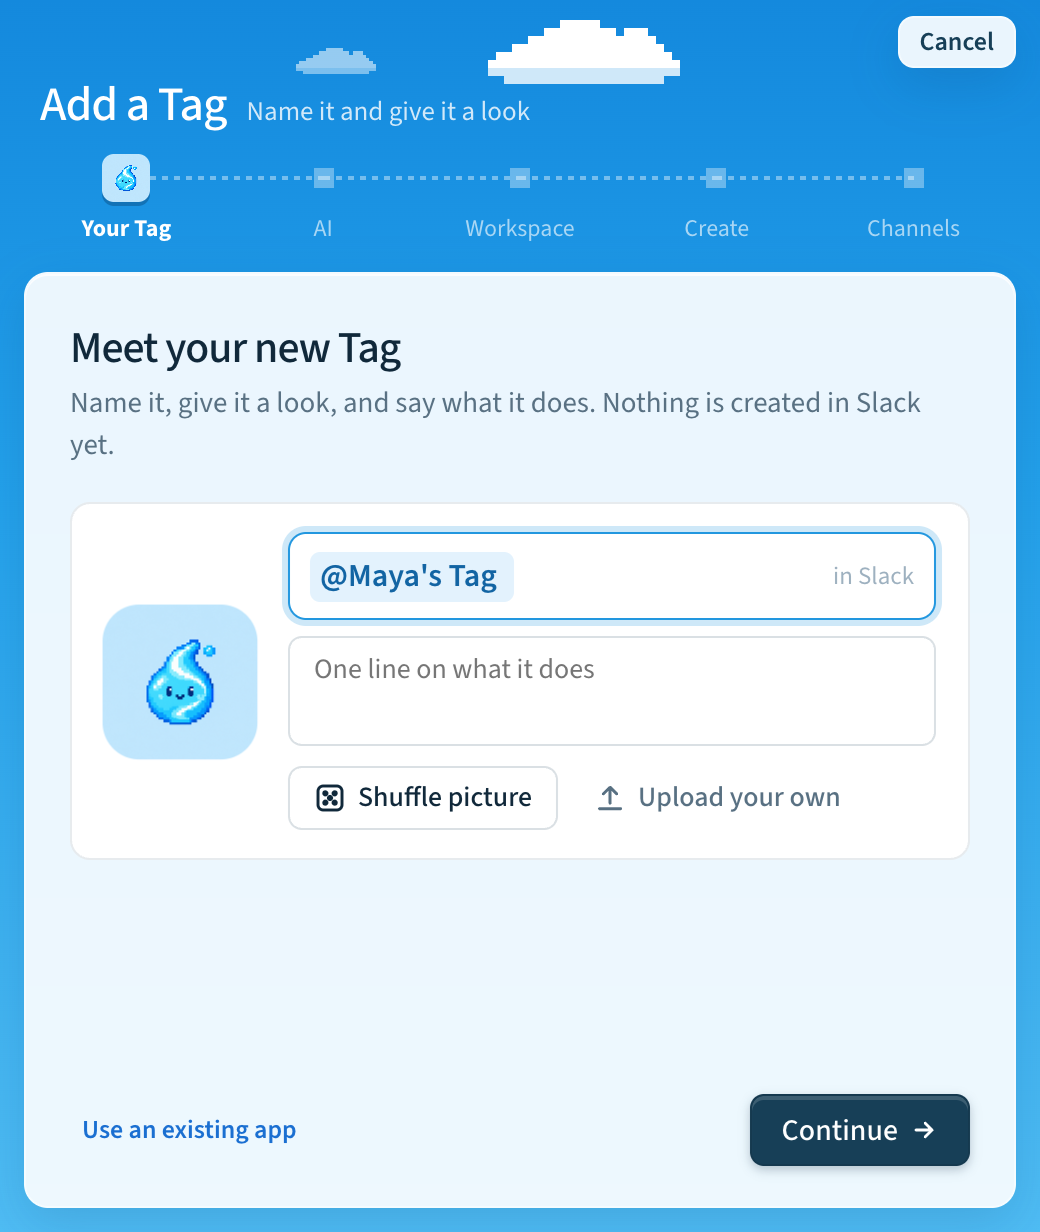
Already have a Slack app you want to use? Choose Use an existing app instead. See Use an existing app.
Choose the AI and the workspace
- AI. Choose the model and thinking level for every request. If no AI connection works yet, the app opens AI connections so you can sign in, then returns.
- Workspace. Pick a Slack workspace you're already signed in to, or choose Sign in to another workspace. The Slack account you pick becomes your Tag's owner.
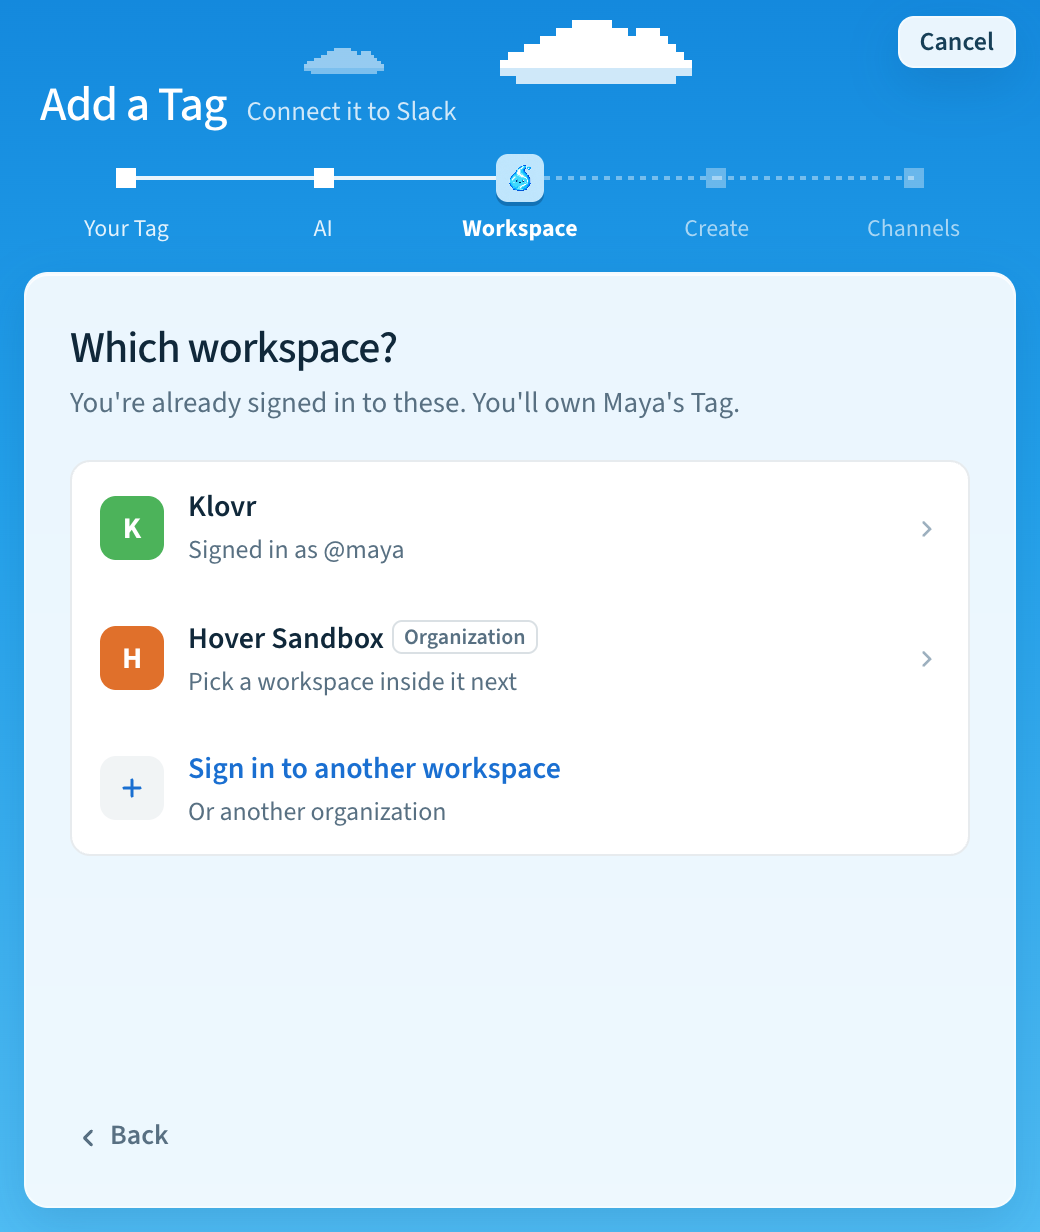
An Organization row is an Enterprise Grid organization or a developer sandbox. See Enterprise Grid and developer sandboxes.
Create it in Slack
- Create. Check the recap. Nothing changes in Slack until you choose Create in Slack. Tag then creates the Slack app, sets its picture, installs it, and connects it.
- Channels. Choose where your Tag can reply. You can choose Skip for
now and
/inviteyour Tag to a channel later.
Say hi
Your Tag starts by itself, and the app shows each step. When it's ready, the app suggests a first message. Choose where to send it, then choose Open Slack. The app copies the message for you. Paste it in Slack and send it. The app tells you when your Tag replies.
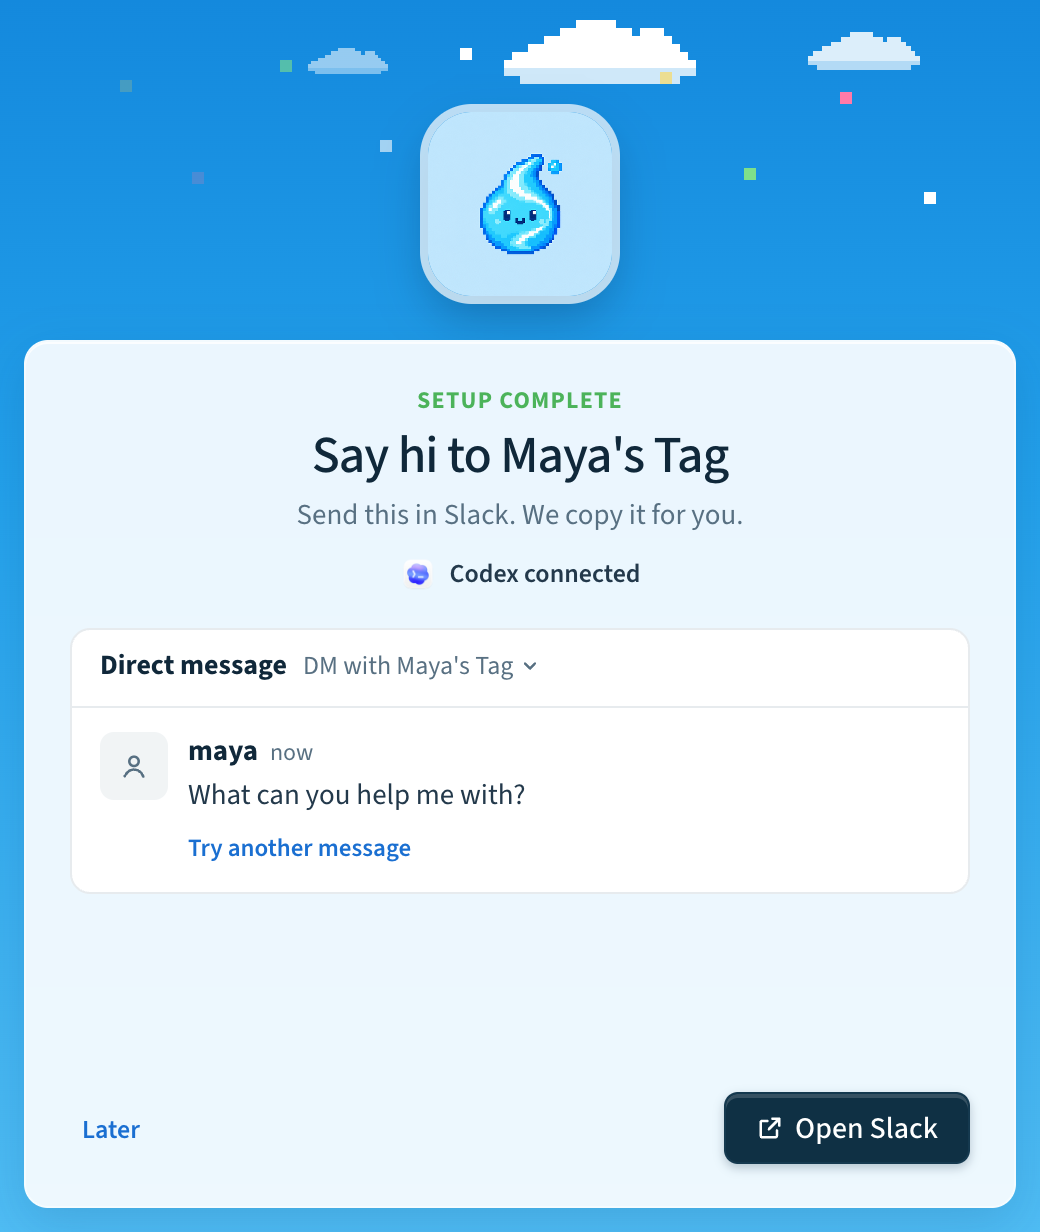
To keep your Tag running after you restart the computer, turn on Open Tag at login and Keep Tags running in Settings → General.
For more about the app, see A quick tour of the app. Then continue to Try your Tag in Slack.
Set up in your terminal
Run the installer. On macOS and Linux:
curl -fsSL https://hover.team/tag/install | shOn Windows, see Install from a terminal for the PowerShell command. You don't need Python or Slack CLI; the installer installs private copies.
If your terminal cannot find tag, add its command directory to your path:
export PATH="$HOME/.local/bin:$PATH"Add the same line to your shell configuration (~/.zshrc for zsh or
~/.bashrc for bash) to keep it available in new terminals.
Start guided setup:
tag setupSetup asks the same questions as the desktop app, in the same order: name, description, and picture; AI model; Slack workspace; a recap; then channels. Tag makes your signed-in Slack account its owner. Private channels need an invitation before they appear. New setups include channels the app has already joined; later invitations also make channels eligible for replies and history indexing.
Setup saves completed answers. If you pause or encounter an error, run
tag setup again to resume. When setup finishes, bring Tag online:
tag startFor detailed setup options, see Set up and manage Tag.
Set up with your coding agent
Codex or Claude Code can install and set up Tag for you. Install the setup skill from your terminal. This command requires Node.js and npm:
# Codex
npx skills add klovr-co/hover-tag --skill hover-tag-setup -a codex -g
# Claude Code
npx skills add klovr-co/hover-tag --skill hover-tag-setup -a claude-code -g
Open a new session and ask:
Use the hover-tag-setup skill to set up Tag for me.Your agent checks what's already installed and proposes all your setup choices together. Reply Use these defaults or list all changes in one message. After you approve the plan, it installs Tag if needed and drives setup.
If Slack login is needed, your agent shows a one-time connection in the conversation. In the Slack workspace you want to connect, paste it into the message box of any channel or DM and send it; it does not need to be a Tag channel. Choose Confirm, then return the short code from the next Slack window in one reply. These values are single-use and short-lived. Slack's illustrated authorization guide shows where the command and short code appear.
Keep Tag running
Tag runs in the background, so you can close the app's window or your terminal.
Keep the computer awake and connected. Check it anytime in the app's Home or
with tag status. Stop it with the Tag's switch in the app or tag stop, and
start it again with tag start.
To start your Tags again after you restart the computer, turn on Keep Tags
running in the app or run tag autostart on.
On the first successful start, if the Tag has exactly one owner account, Tag sends that account a welcome DM with a first-task suggestion and a Hover Community help link. When sent, the welcome confirms the connection; try a task to verify your agent's first reply.
Try your Tag in Slack
In a channel connected during setup, post a short planning note. You can use the example below or write one for your own work.
Reply in that message's thread and mention your Tag. These examples use Maya's Tag; select your own app's mention from Slack's suggestions. The replies below are illustrative. Continue in the same thread to assign the support briefing and update the checklist:


Check that the first reply appears in the same thread, keeps the two assigned tasks and their deadlines, and flags the missing owner and deadline for the support briefing. That confirms Tag received your request, ran your AI agent, and returned a result to Slack.
The updated checklist should include your follow-up alongside the earlier tasks. Tag uses the thread messages as context.
Once this works, explore Working with files or Adding integrations.
Need help?
Run tag doctor to check for problems, or open the Tag's Logs tab in
the app. Then follow Troubleshooting.
Last updated